The user interface of Windows 7 can be translated and converted to another language, with the use of a language pack, commonly known as MUI (Multilingual User Interface) or LIP (Language Interface Pack). With language pack, text in wizards, dialog boxes, menus, and other components in the Windows 7 UI can be converted into another display language from the default display language installed.
Additional language packs for supported editions of Windows 7 (i.e. Windows 7 Ultimate and Windows 7 Enterprise) can be downloaded via Windows Update, from MSDN and TechNet Subscriber Downloads section, or by downloading the leaked lp.cab cabinet files or LIP’s ISO images that float in Internet. If you manage to download additional language pack cabinet files, use the following how-to guide to install the new display language.
Note: If you downloaded a DVD or CD ISO image, extract the lp.cab file from the image first. This guide assumes that you’re not using Windows Update to download and install the language pack, which will be done automatically.
How To Install a Language Pack in Windows 7
- Click on Start button, then go to Control Panel.
- In Category view, click on Clock, Language, and Region link.

In Icons view, click on Regional and Language icon, and then go to Keyboards and Languages tab.
- Click on Install or uninstall display languages under “Region and Language” section or Install/uninstall languages under “Display Language” section”.

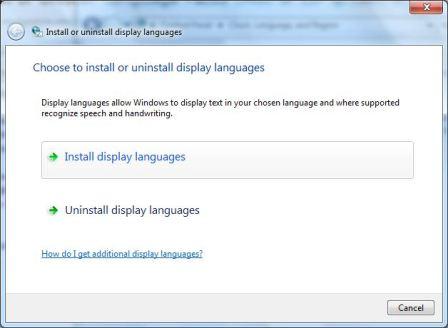
- In the “Install or uninstall display languages” wizard, click on Install display languages.
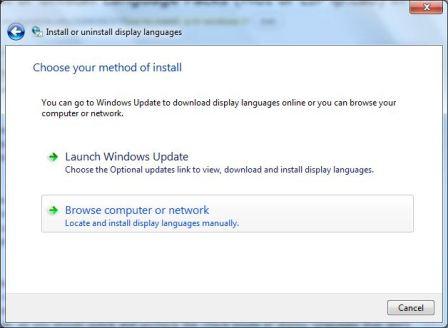
- Click Browse computer or network to locate and install language packs manually.
- Type or browse to the folder that contains the language pack files. The language file must be in .CAB extension, typical named as “lp.cab”.
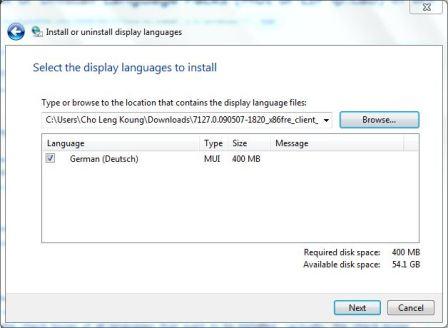
Once selected and if at least one valid language pack (either MUI or LIP) is found, the wizard will list all languages available to install, together with native name, type (MUI or LIP) and size.
- Tick the check boxes of all languages that want to be installed. Actually, the check boxes are checked by default, so you should untick and uncheck the check boxes of display languages that don’t want to be installed.
- Click on Next button when ready.
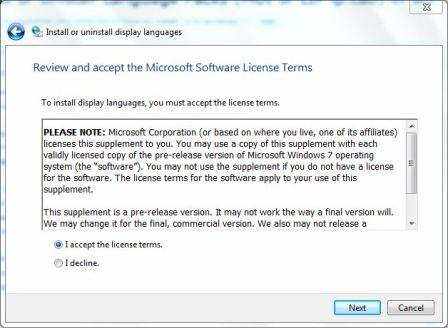
- Check the radio button for I accept the license terms, then click on Next button.
- Wait for the installation to finish, which may take a while.
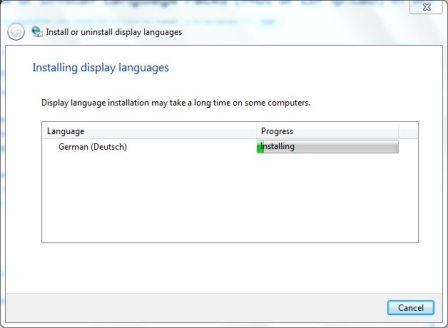
- Once all selected language files is installed successfully, a confirmation screen will be shown.
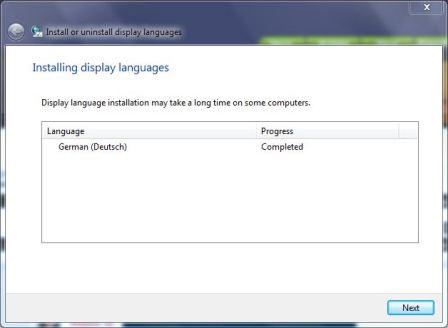
Click Next button.
- If you wish to change to new display language, select the desired display language from the list of languages available. Then, click on Change display language button. Optional is whether to also apply the new display language to welcome screen and system accounts.
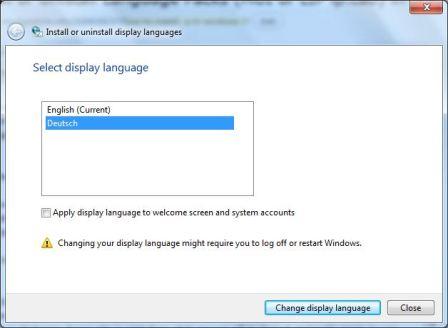
Else, click on Close button to exit.
Recent Posts
- Able2Extract Professional 11 Review – A Powerful PDF Tool
- How to Install Windows 10 & Windows 8.1 with Local Account (Bypass Microsoft Account Sign In)
- How to Upgrade CentOS/Red Hat/Fedora Linux Kernel (cPanel WHM)
- How to Install Popcorn Time Movies & TV Shows Streaming App on iOS (iPhone & iPad) With No Jailbreak
- Stream & Watch Free Torrent Movies & TV Series on iOS with Movie Box (No Jailbreak)
 Tip and Trick
- How To Download HBO Shows On iPhone, iPad Through Apple TV App
- Windows 10 Insider Preview Build 19025 (20H1) for PC Official Available for Insiders in Fast Ring – Here’s What’s News, Fixes, and Enhancement Changelog
- Kaspersky Total Security 2020 Free Download With License Serial Key
- Steganos Privacy Suite 19 Free Download With Genuine License Key
- Zemana AntiMalware Premium Free Download For Limited Time