Windows Live Messenger, including current Windows Live Messenger 2009 and upcoming Windows Live Meseenger 2010, has been made part of Windows Live Essentials, a group of programs that freely available from Microsoft. As such, there is no longer standalone Windows Live Messenger setup installer to install the popular instant messaging client program, which previously and still commonly known as MSN Messenger.
As with the change to package Windows Live Messenger inside Windows Live Essentials, the messenger client is now installed via a unified installer which also install other products such as Windows Live Mail, Windows Live Photo Gallery, Windows Live Toolbar, Windows Live Writer and Windows Live Movie Maker. As Windows Live Messenger is now installed by Windows Live Essentials unified installer, the name and location of its uninstaller has changed.
Here’s how to uninstall Windows Live Messenger via official uninstaller:
- Go to Control Panel.
- Click on Uninstall a program or Add or Remove Programs.
- Select Windows Live Essentials, then click on Uninstall or Change / Remove button.

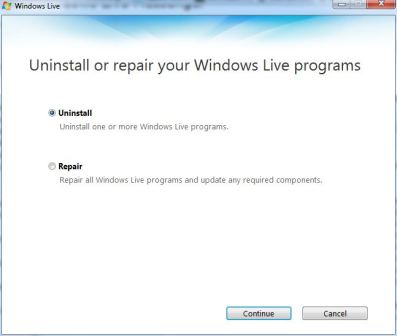
- In the Windows Live window, select Uninstall radio button and click Continue button. Another option is “Repair” to fix any issue on Windows Live programs.

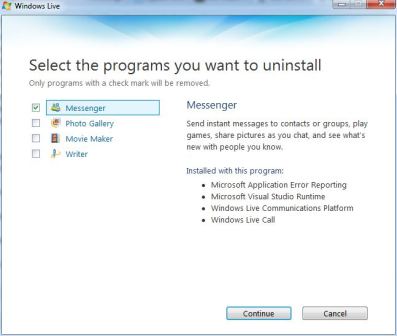
- User will be asked to select the programs that he or she wants to uninstall. Make a tick on the check box for Messenger, and click Continue button.

- Windows Live Messenger is uninstalled.
If for some reason, the official uninstaller for Windows Live Messenger cannot be used to uninstall the messenger client program, try to custom Windows Live Messenger uninstaller.